

 Before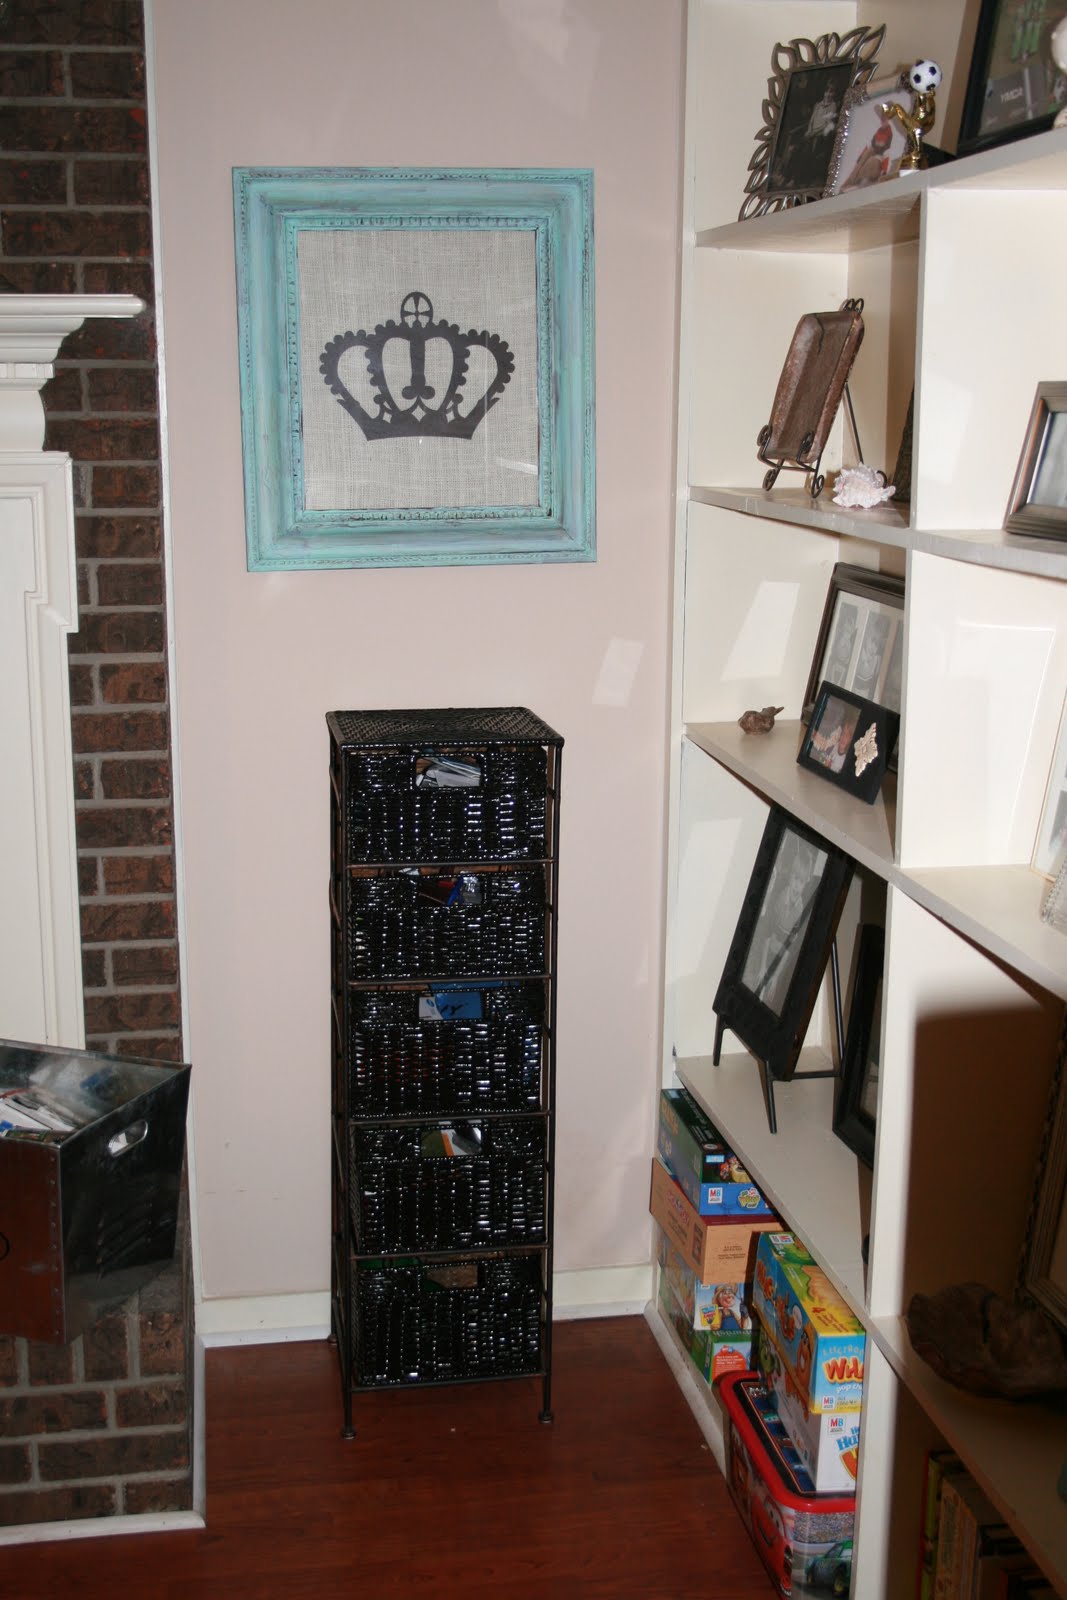
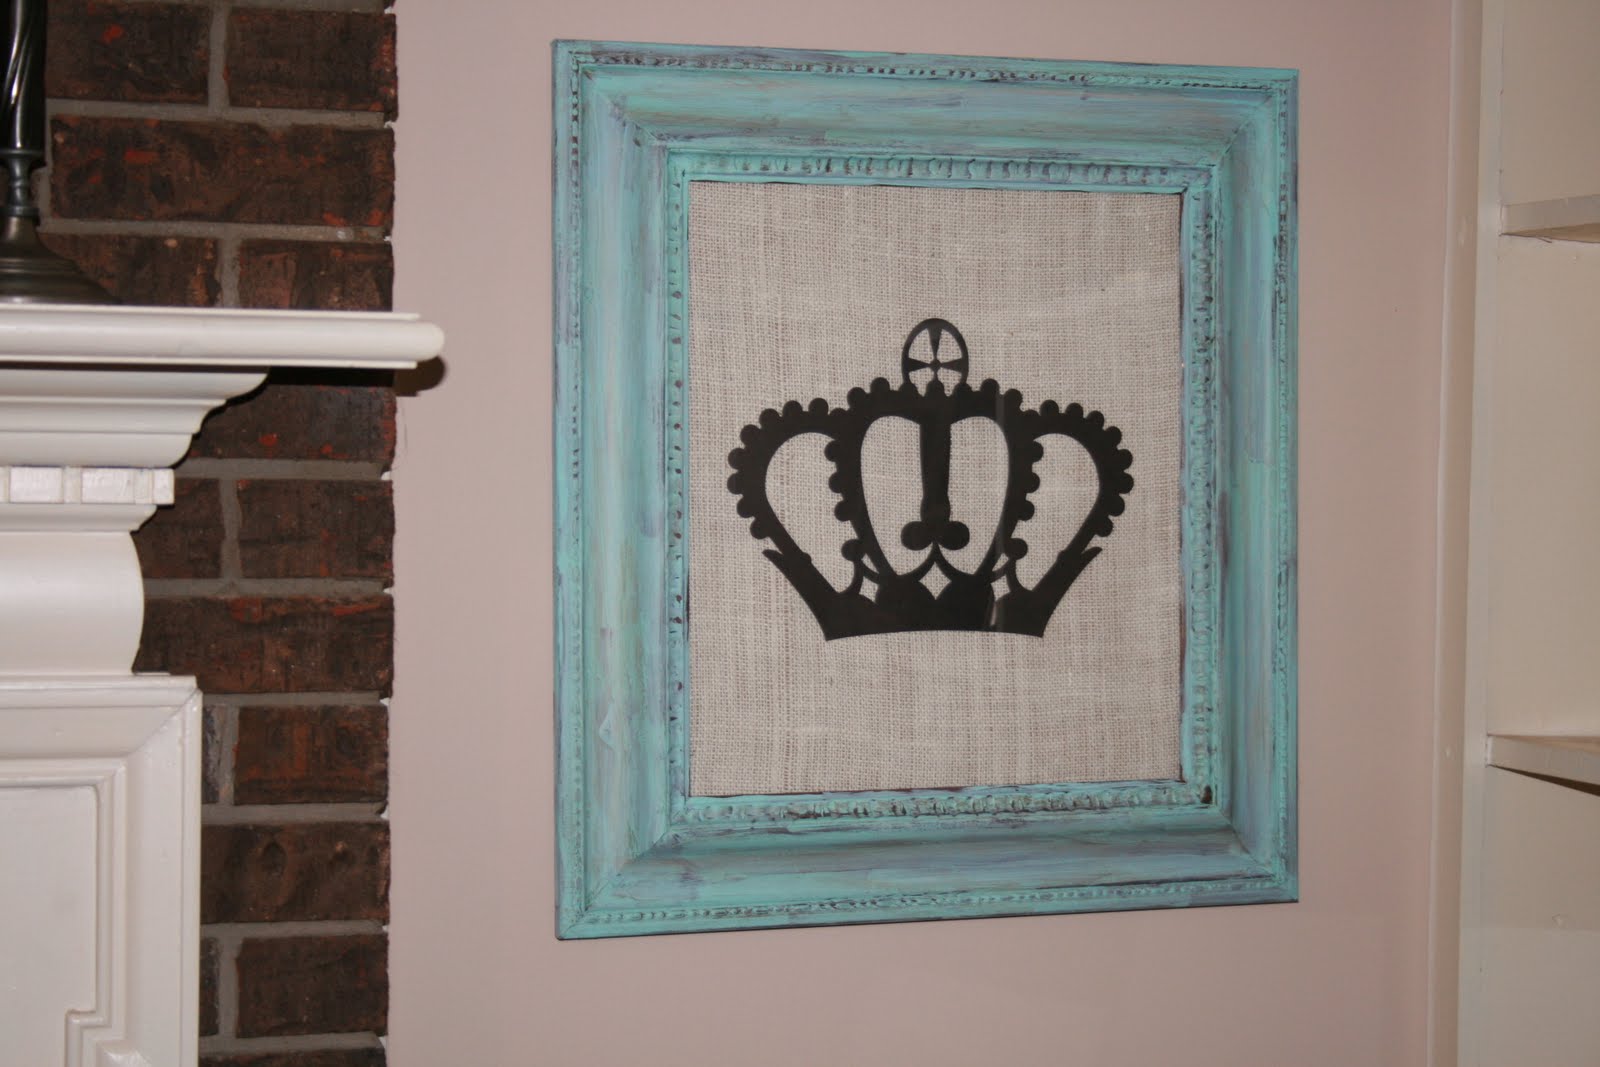
I am now using black instead of brown in my family room, so everything that was brown is now becoming black. I just simply used some black gloss spray paint for this.
Slowly but surely everything is becoming black. I still have to conquer a big coffee table and a console table. Hopefully I will find some time to work on those this summer. I will post them when I get them done.

 We have so many legos around and they seem to be taking over, so I wanted to come up with something to store them in instead of just keeping them loose and getting them mixed up. I'm sure they still will get mixed up until my son gets older, but at least I will have a storage system in place by then. I used my Cricut to cut the legos and letters out of vinyl.


 I have been making tags a lot lately, along with everything else. I love to incorporate them into my scrapbook pages and also add them to gift bags. I think they add the perfect touch. I have a couple of birthdays coming up this month and I wanted to get some made to have ready instead of waiting till the last minute like I usually do. I had gotten these cute little die cuts from Target clearance years ago and had never used them. The colors didn't really go with any birthday pages that I've done, so I thought they would be perfect for gift bags. I seemed to have the perfect color ribbon and buttons in my stash to add to them.
 My precious son starts kindergarten next week and I wanted to start it off right with a little happy for his teacher. We met her last week for a summer party and she is the sweetest! I had bookmarked one like this on Two Peas a while back and new I wanted to make one at some point. The girl used a digital kit that was no longer available, so I improvised with some paper I had gotten recently at Michael's. I used a Martha punch for the apple and used Photoshop Elements to create her name and printed them on 3 x 5 index cards. The little clipboard actually came from AC Moore and it has this little peg on the back where it can actually stand up. I made a matching tag for the bag. I also want to add some hand sanitizer that I vinyl with her intials before next Wednesday. Have to get the monogramming in somewhere, right?

 I got my first lesson today from a free photo editing class I'm taking over at Jessica Sprague's website. Our first lesson was about creating frames and using word art in Photoshop. It was pretty easy to figure out and she had awesome videos that showed you step by step what to do. I love when things are that easy to figure out. It makes me want to continue to learn. This probably wasn't the best photo, but it was one of my recent shots of my favorite guy at Disney. I can't wait for Lesson 2. I will post it too!
 Other than a baby shower to go to on Saturday, Grayson was invited to a neighbor's two-year-old birthday party. I made the little princess her own card. I got this stamp set from Lizzie Anne Designs a while back at my LSS and haven't really had an occasion to use it until now. Well, I guess I have had occasion, but forgot I had it. I don't really have all the cool colors or Copics or whatever you use to color these kind of images in. I'm still out of the loop on that one, but I'm making do with what I have right now. I actually used some paint mixed with some crystal Stickles. It turned out okay. I painted the chipboard scallop frame and the "2" with the same paint color. The brown behind the stripe paper is actually felt from Michael's, I think. I don't even know what this paper is called, but it came in a kit type thing and it is so cute for little girls' birthdays. The striped paper was run through my Sizzix with my Cuttlebug embossing folder. I still don't have a Cuttlebug, but they work pretty good in the Sizzix. I used a die cut that came with the kit and stamped "Happy Birthday, Princess" on the inside. I can't wait to put this in Madison's mailbox tomorrow since the 19th is actually her birthday. I will make her a little tag or something to put on her present for Saturday.

 Using from my stash, I went with the Making Memories Kids Collection called Sam since I had the paper and stickers, and I had this navy ribbon with the red trim that I think pulls it all together. I stamped "Welcome, Little One" on the inside. I also punched out 3/4 inch circles for the scalloped edges since I don't have any Spellbinder dies yet. I got this from the talented Kristina Werner from her MACM cards.